
Create a site plan for a new carport with Drawblueprint #
In this article we walk through, step by step, how a site plan for a carport comes together using the online tool Drawblueprint.com.
Drawblueprint is a tool that lets you draw simple building documents directly in your browser. It is easier to use than CAD and more capable than drawing tools that are not made for building documents.
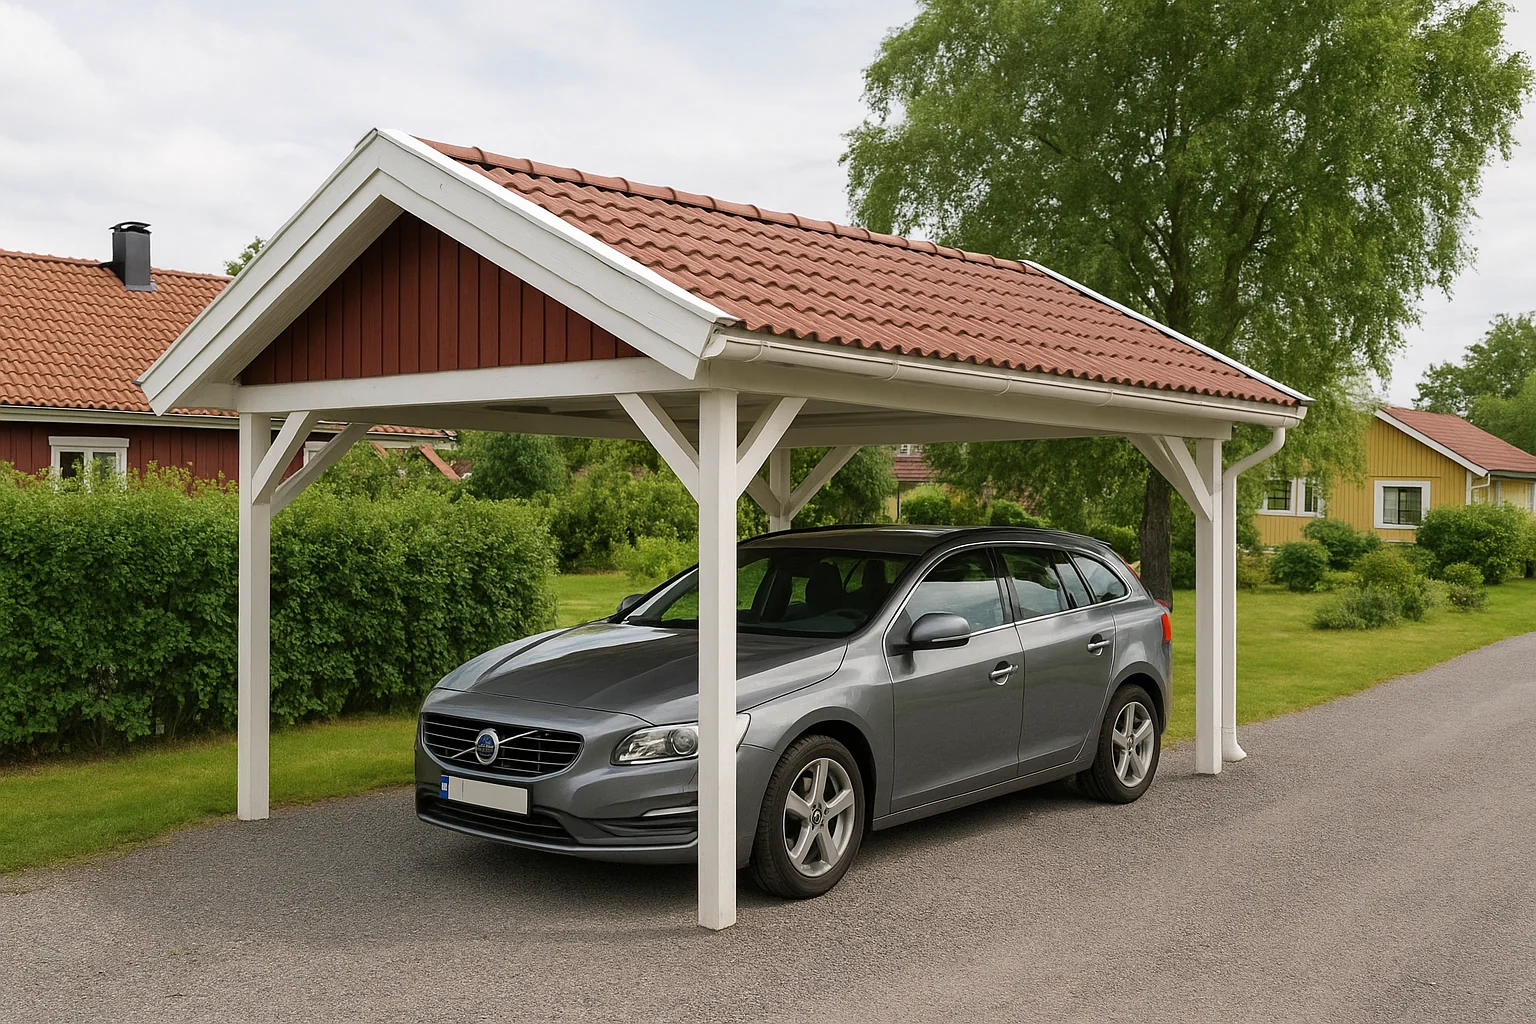
The carport #
Putting up a carport may require a building permit. You might need elevation drawings and construction drawings to show your local authority how you have planned the work and to get their approval. In this article we concentrate on the site plan.
To create our site plan we need the following:
- A base map from your local authority
- An account on Drawblueprint.com
A base map from your local authority #
The site plan is built on top of your local authority's base map. A screenshot from Google Maps is not enough; such maps are not intended for building documents.
Authorities offer different maps for building projects. The most detailed map is a full survey map, which is precise but also more expensive and takes time to produce. For simpler projects, a map from the authority's online map service is often enough. The rules differ from place to place, so check what applies to your project and contact a building officer if anything is unclear.
When you export the map, the goal is to print a map image with the property boundaries, at the correct scale, and where the scale is shown. A common choice is:
- Format: A3 — authorities often want site plans in this format
- Orientation: Landscape
- Scale: 1:400 — a common scale for site plans
- Include a scale bar
Finally, check that the whole property is included in the exported image before you print.
Import the base map into Drawblueprint #
In Drawblueprint you create a drawing easily. Create an account on https://app.drawblueprint.com/sign-up and press the New drawing button.
Fill in:
- The drawing's name — "Site plan carport, 12 Snow Street"
- The drawing type — Site plan
- The drawing's scale — choose the same as the base map, so 1:400
- The drawing's format — also the same as the base map, so landscape A3
It is important to choose the same format and scale as the base map. Otherwise the scale and measurements will not match. Press Create drawing.
To import the base map, press settings & base map in the top left, then browse and select the map export from your computer. If the export contains a north arrow, you can turn off Drawblueprint's own North arrow option further down in the settings menu, then close it. You now have a base map imported, with a matching scale and orientation, ready to draw on.
Draw the site plan #
Now we draw our carport and add all the details required for a correct site plan.
Our carport is rectangular with the dimensions 3 × 6 metres. We therefore choose the rectangle tool and click one out. By selecting the rectangle we can type in the measurements: 3 enter in the width field, then 6 enter in the length field.
To orient the carport correctly, first rotate the rectangle by pressing and holding the blue rotation handle and dragging with the mouse, then place the building where it should stand. To include the carport's measurements, press the show dimensions button. Choose a suitable line thickness and give the carport a dashed outline.
For the building in a site plan, measurements should be drawn that describe its position on the property. Choose the dimension line tool. The dimension lines should start at right angles (90°) from the property boundary. Click the line's start at the boundary and set the next point at a corner of the carport. If a dimension ends up upside down, click the text with the mouse so it switches sides.
Draw the dimension lines your local authority requires — typically to two property boundaries and to the main house. Finally, choose the text tool and write out "Carport", the building's height and its total area.
Fill in the drawing details #
In the drawing's title block, the information box in the bottom right, we fill in the information about the drawing.
Export the drawing #
We export the drawing by clicking the Export to PDF button in the top right. The drawing is then downloaded as a PDF, ready to submit to your local authority.
